How To Choose A Lightweight Tent
A practical step-by-step guide to how to choose a lightweight tent, including preparation, instructions, common issues, tips, and next steps.

How To Choose A Lightweight Tent
This guide explains how to approach how to choose a lightweight tent, including the preparation, practical steps, common mistakes, and final checks that help you finish with confidence.
Before You Start
Step-by-Step Instructions
Quick Reference
Common Problems When Choosing a Lightweight Tent
Even with careful planning, it's easy to run into common issues when selecting a lightweight tent. Knowing these pitfalls can help you avoid them:
Sacrificing Durability for Weight
Many people get too focused on the lowest weight number and choose a tent made from extremely thin fabrics. While this saves grams, it can lead to a tent that punctures or tears easily, especially on rugged terrain. You might save weight but then need costly repairs or a full replacement sooner.
Fix: Look for a balance. A tent with a slightly higher denier (e.g., 15-20D) on the fly and a tougher groundsheet (30D+) will offer better longevity. Consider your typical terrain; rocky ground demands more robust materials.
Underestimating Internal Space Needs
A "1-person" or "2-person" rating can sometimes mean a very snug fit, especially with modern lightweight designs. You might find there's barely enough room for you, let alone your rucksack or boots inside the tent, forcing gear into a tiny vestibule or even outside.
Fix: Always check the floor dimensions and peak height. If possible, imagine yourself and your gear inside. For solo users, a "2-person" lightweight tent might be ideal for extra space, or choose a "1-person" with a generous vestibule.
Not Matching Seasonality to Trip Conditions
Bringing a delicate 3-season tent into early winter conditions or exposed mountain environments is a recipe for disaster. The tent might not withstand strong winds, heavy rain, or even light snow, leading to a damaged shelter or a very uncomfortable night.
Fix: Clearly define the seasons and worst-case weather you expect to encounter (Step 1). If you plan shoulder-season or exposed trips, opt for a more robust 3-season or a 3-4 season tent. Don't push a summer tent beyond its limits.
Misleading Weight Figures
Manufacturers often highlight the "minimum trail weight" because it's the lowest number. However, this often excludes pegs, guy lines, stuff sacks, and even a footprint, which are all essential items you'll actually carry.
Fix: Always look for the "packed weight" or "total weight" specification. If only minimum trail weight is listed, try to find user reviews or contact the manufacturer to get a realistic packed weight. Remember to factor in any accessories you plan to buy separately, like a footprint.
Overspending for Minimal Gains
The lighter a tent gets, the exponentially higher its price often becomes. Chasing the absolute lightest tent can mean spending hundreds of pounds more for only a few hundred grams of saving, often at the expense of durability or features you might actually value more.
Fix: Set a realistic budget and a target weight range. Decide where your personal balance lies between weight, cost, durability, and comfort. Sometimes, a slightly heavier, more affordable, and robust tent is a better long-term investment.
Advanced Tips for Choosing a Lightweight Tent
Once you're familiar with the basics, consider these advanced strategies to optimise your lightweight tent choice:
Explore Tarp-and-Bivy or Tarp-only Setups
For the truly ultralight adventurer, a tent might still be too heavy. Consider a modular system: a lightweight tarp for overhead protection paired with a waterproof bivy bag (a minimalist sleeping bag cover) for bug and ground protection. For even drier conditions, a tarp alone can suffice.
Understand Modular Tent Systems
Some lightweight tents offer modularity, meaning you can pitch just the fly and footprint, or the inner tent alone, depending on conditions. This adaptability allows you to carry only what's necessary for the expected weather, saving weight on certain trips.
Consider Tent Pole Hub Design
Many lightweight tents use a single hubbed pole system, where all main poles connect at a central point. This speeds up pitching, reduces fumbling with multiple poles, and often creates more efficient internal space for the tent's weight.
The Importance of a Footprint
While an optional extra that adds weight, a dedicated footprint (groundsheet) is highly recommended for lightweight tents. Their thin groundsheet fabrics are more susceptible to punctures and abrasion. A footprint protects the tent floor, extends its life, and provides an extra barrier against dampness. Choose one specifically made for your tent model.
Field Repair Preparedness
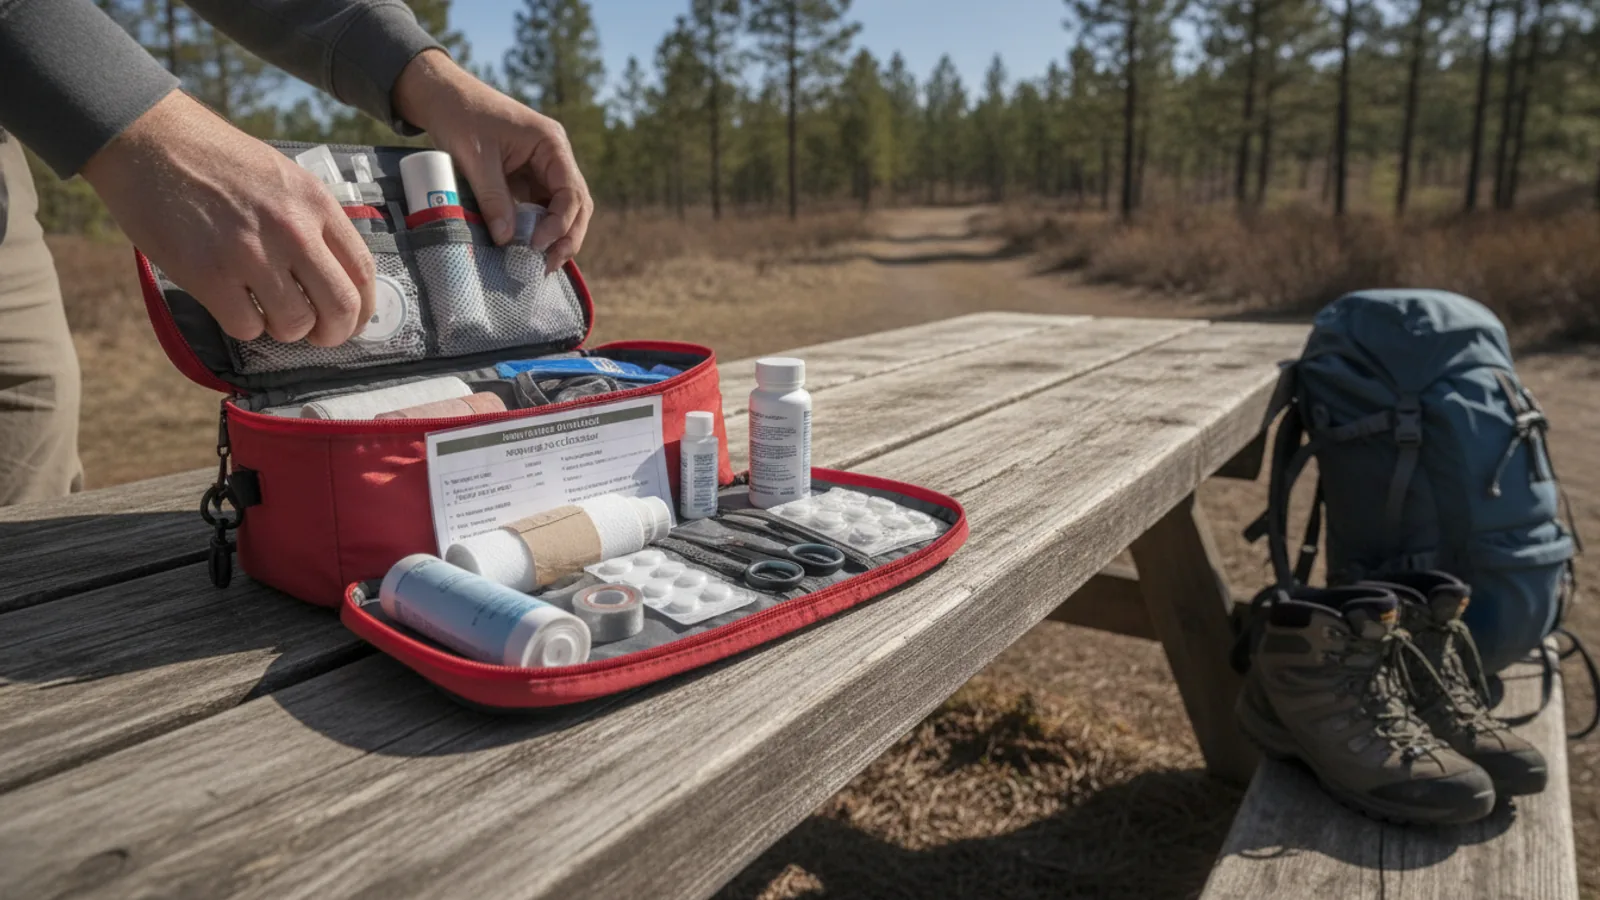
With ultralight fabrics, minor damage is more likely. Always carry a small repair kit. This should include adhesive patches for fabric tears (like Tenacious Tape or specific silnylon/DCF patches), a needle and thread, and maybe a small piece of tent pole repair sleeve. Knowing how to perform basic field repairs can save a trip.
Think About Vestibule Door Configuration
Vestibule door design impacts livability. Dual vestibules (one on each side) offer separate entry/exit, meaning less climbing over your tent partner and more organised gear storage. A single large vestibule might be lighter but less convenient for two people.
How To Choose A Lightweight Tent FAQ
Final Checklist for How to Choose a Lightweight Tent
Before making your final decision, run through this checklist to ensure you've covered all the important considerations:
By carefully working through these steps and considerations, you'll be well-equipped to choose a lightweight tent that serves you reliably on countless outdoor adventures.
FAQ
What should I check before I start?
Check the goal, the key prerequisite, and any current instructions that could change the safest next step for how to choose a lightweight tent.
How can I tell whether the result is working?
Use the practical checks in the guide, pause if a required step is unclear, and verify the finished result against the intended outcome.