How To Use A Compass On A Hike
A practical step-by-step guide to how to use a compass on a hike, including preparation, instructions, common issues, tips, and next steps.
How To Use A Compass On A Hike
This guide explains how to approach how to use a compass on a hike, including the preparation, practical steps, common mistakes, and final checks that help you finish with confidence.
Before You Start
What You Need
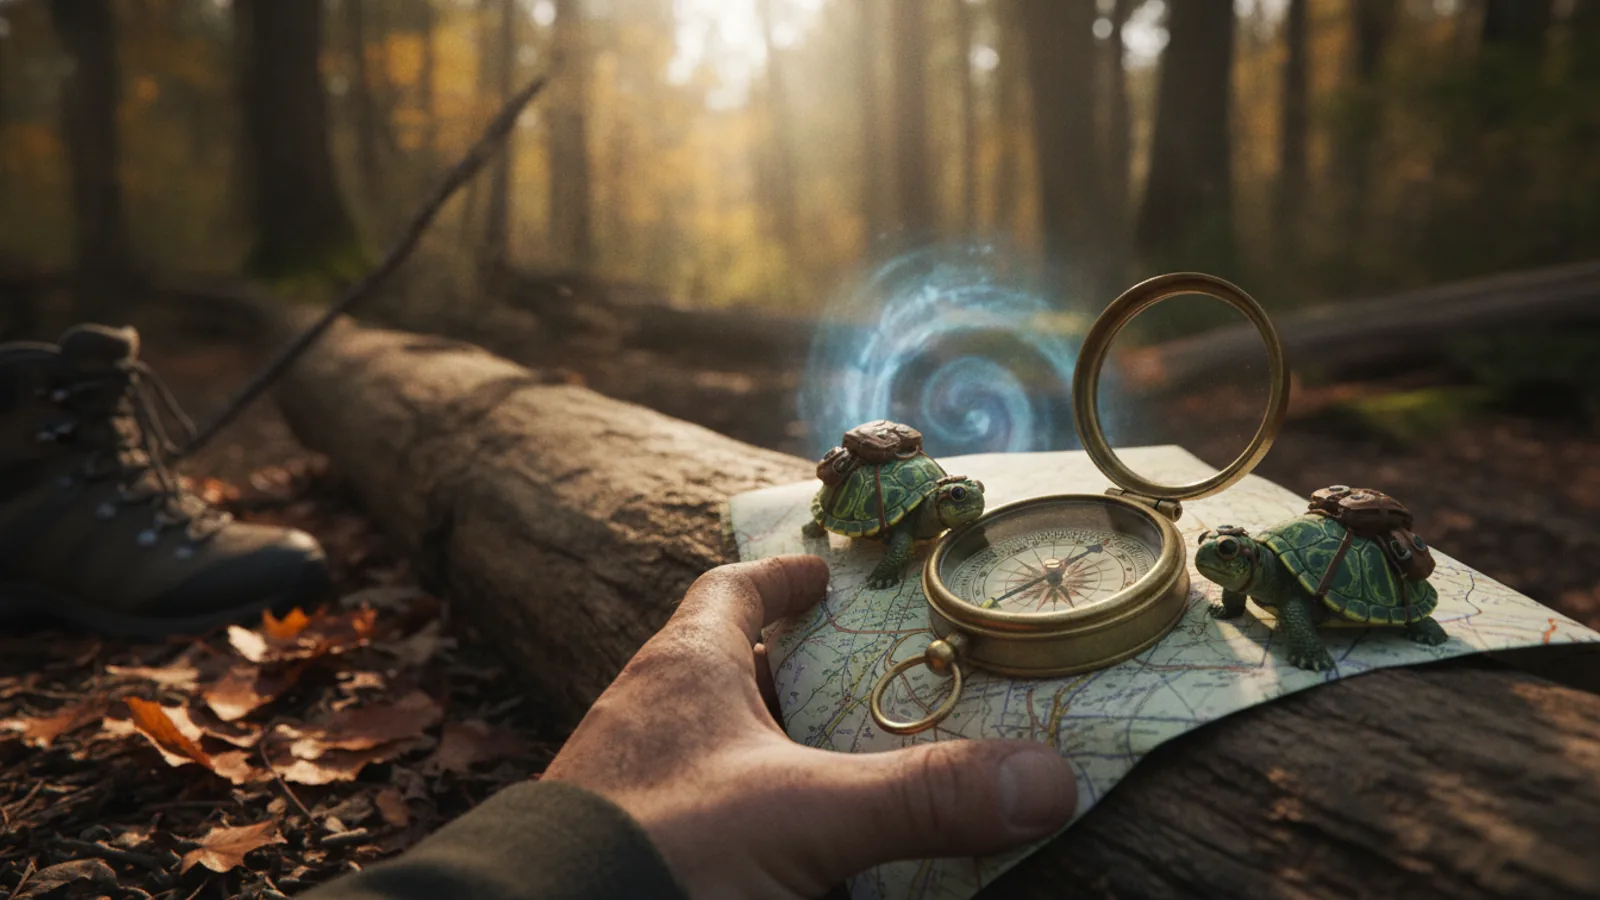
To effectively use a compass on your hike, you'll need two primary tools: a good quality baseplate compass and a detailed topographical map of your intended route. A baseplate compass is ideal because it allows you to take bearings directly from the map. It typically features a transparent base, a rotating bezel with degree markings, a magnetic needle (usually red for north), an orienting arrow or lines inside the compass housing, and a direction of travel arrow on the baseplate.
Your topographical map should be up-to-date and show contour lines, footpaths, natural features, and grid lines. For hikers in Great Britain, Ordnance Survey maps are the standard, offering precise detail at scales like 1:25,000 or 1:50,000. It's also helpful to have a pencil or fine-tip marker for plotting points or drawing lines on your map, especially if you're planning a complex route.
Safety, Timing, or Context Checks
Before you even step onto the trail, several important checks can prevent problems. First, confirm that your map covers your entire planned route and that you understand its grid system and magnetic declination. Magnetic declination is the difference between true north (the North Pole) and magnetic north (where your compass needle points) at your location. This difference needs to be accounted for for precise navigation, especially over longer distances.
Secondly, always inform someone of your planned route and estimated return time. This is a fundamental safety practice for any outdoor activity. Check the weather forecast for your entire hike duration; adverse weather can complicate navigation. Practise using your compass and map in a familiar, safe area before relying on it in remote or challenging terrain. Familiarity builds confidence and ensures you can apply the techniques under pressure.
Step-by-Step Instructions
Quick Reference
Common Problems When You Use a Compass on a Hike
Even with practice, hikers can encounter several common issues when using a compass. Recognising these problems and knowing how to fix them can save you from navigation errors and potential trouble on the trail.
Magnetic Interference
Problem: Your compass needle isn't pointing consistently, or it's pointing in an odd direction. This is often due to magnetic interference. Metal objects, power lines, specific rock types (like magnetic iron ore), and even electronic devices (mobile phones, GPS watches) can create local magnetic fields that pull your compass needle away from magnetic north.
Solution: Move away from any suspected source of interference. Take your compass off your body and move at least 10-15 metres away from power lines, metal fences, or large rocks. Hold the compass away from your phone or other electronics. If you wear a watch with a strong magnetic clasp, take it off. Always re-check your bearing in an open area, away from potential disruptors.
Not Holding the Compass Level
Problem: If your compass is tilted, the magnetic needle can drag against the housing or pivot, preventing it from spinning freely and accurately pointing north. This is especially common when trying to quickly check a bearing while walking.
Solution: Always hold your compass as level as possible. You can rest the baseplate flat on the palm of your hand, holding your arm straight out. Some compasses have a small spirit level bubble to help. If you're on uneven ground, crouch or find a stable spot to get the compass flat and steady.
Confusing True North with Magnetic North
Problem: Without accounting for magnetic declination, you might be navigating based on magnetic north while your map uses true or grid north, leading to a consistent error in your direction.
Solution: Develop a habit of checking your map's legend for the magnetic declination value before every hike. If your compass has an adjustable declination, set it correctly. Otherwise, consistently apply the correct declination adjustment whenever you take a bearing from your map or orient your map to north. Always clarify if your map uses Grid North or True North as its primary reference and adjust from there.
Reading the Wrong End of the Needle
Problem: In low light or when distracted, it's possible to mistakenly follow the south (non-red) end of the magnetic needle, sending you 180° in the wrong direction.
Solution: The red end of the magnetic needle always points to magnetic north. Make it a firm habit to always identify the red (north) end and ensure it's the one you align with the orienting arrow. Some compasses have a luminous paint dot on the north end for easier identification in dim conditions.
Rough Terrain Affecting Bearing
Problem: Trying to follow a precise bearing across very broken ground, dense forest, or steep slopes can be challenging, as maintaining a straight line is difficult, and visibility for spotting distant landmarks is poor.
Solution: In such terrain, shorten your "leapfrog" distances. Instead of picking a landmark far away, choose one only 20-50 metres ahead. Repeat this process more frequently. If visibility is extremely poor, consider using the "offset" method: consciously walk a set number of paces parallel to your intended bearing, navigate around the obstacle, then walk back the same number of paces to return to your original line of travel. Always use your map to understand the terrain ahead and anticipate where you might need to adjust your strategy.
Advanced Tips for Using a Compass on a Hike
Once you're comfortable with the basics, these advanced techniques can significantly enhance your navigation skills, especially in challenging environments or for complex route planning.
Triangulation for Precise Position Finding
This method helps you pinpoint your exact location on a map when you're unsure. Identify three distinct, visible landmarks in the field that you can also clearly locate on your map (e.g., a prominent peak, a church spire, a distinct bend in a river). Take a bearing from your current position to each of these three landmarks using the "Field to Map" method (Step 5). Transfer each bearing onto your map by drawing a line from the landmark, along the reversed bearing. Your position is where these three lines intersect, or where they form a small triangle. A smaller triangle indicates greater accuracy. Using three points helps verify accuracy compared to just two.
Navigating Around Obstacles (Offset Method)
When your chosen bearing leads directly into an impassable obstacle like a dense thicket, a cliff, or a bog, you can use the offset method. When you reach the obstacle, turn 90 degrees to your left or right, walk a measured number of paces (e.g., 50 paces) parallel to your original bearing, then turn 90 degrees back to your original bearing and walk past the obstacle. Once clear, turn 90 degrees back towards your original line of travel and walk the same number of paces back to your original bearing line. This allows you to bypass the obstacle and return to your intended path without losing your main direction.
Planning Multi-Leg Routes
For longer or more complex hikes with multiple changes in direction, pre-planning is key. On your map, plot out each segment (leg) of your journey. For each leg, take a map-to-field bearing and note it down. Also, estimate the distance for each leg using the map's scale. Keep these bearings and distances in a waterproof notebook or on your map. When you reach the end of one leg, you simply refer to your notes for the next bearing and distance. This systematic approach ensures you have all the necessary information readily available and minimises on-the-spot calculations.
Using a Compass with an Altimeter
An altimeter, often found in GPS devices or ABC watches (Altimeter, Barometer, Compass), measures your altitude. Combining altimeter readings with your map and compass can greatly improve your situational awareness. When navigating in hilly or mountainous terrain, knowing your precise altitude can help confirm your position on a contour line or identify specific features on the map that match your elevation. For example, if you are following a contour, your altimeter should show a relatively stable reading. If it starts to climb or drop significantly, you know you've drifted off your contour line.
Night Navigation Techniques
Navigating at night or in low visibility (fog, heavy rain) requires additional care. Familiarise yourself with your compass in daylight. Many compasses have luminous markings on the needle and orienting arrow, which are invaluable at night. The leapfrogging technique becomes even more critical; choose very close landmarks or even just a specific light ahead if available. Work slowly and methodically, re-checking your bearing more frequently. Using a headtorch with a red light filter can help preserve your night vision while still allowing you to read your map and compass.
How To Use A Compass On A Hike FAQ
What is magnetic declination and why is it important?
Magnetic declination is the angular difference between true north (the geographical North Pole) and magnetic north (the direction your compass needle points). It varies depending on your exact location on Earth and changes slowly over time. Most maps, especially topographical maps, are oriented to true north or grid north. If you don't account for declination, your compass readings will be consistently off, leading to navigation errors, particularly over long distances. It's crucial for accurate navigation to adjust your compass or map readings for the local declination.
Do I need a compass if I have a GPS or smartphone app?
Yes, absolutely. While GPS devices and smartphone apps are incredibly useful for navigation, they are electronic and can fail due to battery depletion, signal loss, water damage, or extreme temperatures. A traditional baseplate compass is a reliable, battery-free backup that functions under almost any condition. Knowing how to use a compass and map is a fundamental safety skill for any outdoor enthusiast, ensuring you can navigate even when technology fails.
How often should I check my bearing when following a path?
The frequency depends on the terrain, visibility, and distance. In open, clear terrain with visible distant landmarks, you might check less often, perhaps every 50-100 metres. In dense fog, thick forest, or very uneven ground, you should check your bearing much more frequently, potentially every 10-20 metres, using short "leapfrogs" to very close landmarks. The goal is to ensure you maintain a straight line and don't drift off course. When in doubt, check more often.
Can I use my phone's built-in compass?
While most smartphones have a digital compass, they are generally not as reliable or accurate as a dedicated baseplate compass for serious navigation. Phone compasses are highly susceptible to magnetic interference from the phone's internal components, cases, or nearby objects. They also often lack the physical baseplate and rotating bezel needed for accurate map work and precise bearing taking. It's acceptable for a quick general direction check, but not for critical navigation in the backcountry. Always carry a proper compass as your primary tool.
What if I get lost and don't know my exact starting point?
If you're lost, your priority is to regain your location on the map. Use the triangulation method (taking bearings to two or three visible landmarks that you can identify on your map) to pinpoint your position. If no landmarks are visible, look for a prominent linear feature like a track, river, or ridgeline on your map that you might be able to intercept. Navigate towards it, and once you reach it, follow it until you find a recognisable feature that allows you to confirm your position. Remain calm, assess your situation, and prioritise safety.
Final Checklist for How To Use A Compass On A Hike
Before you embark on your hike, ensure you've covered all the essential steps to confidently use your compass and navigate safely.
By diligently checking these points, you enhance your safety and confidence on any hiking adventure. Happy navigating!