How To Choose A Bikepacking Tent
A practical step-by-step guide to how to choose a bikepacking tent, including preparation, instructions, common issues, tips, and next steps.
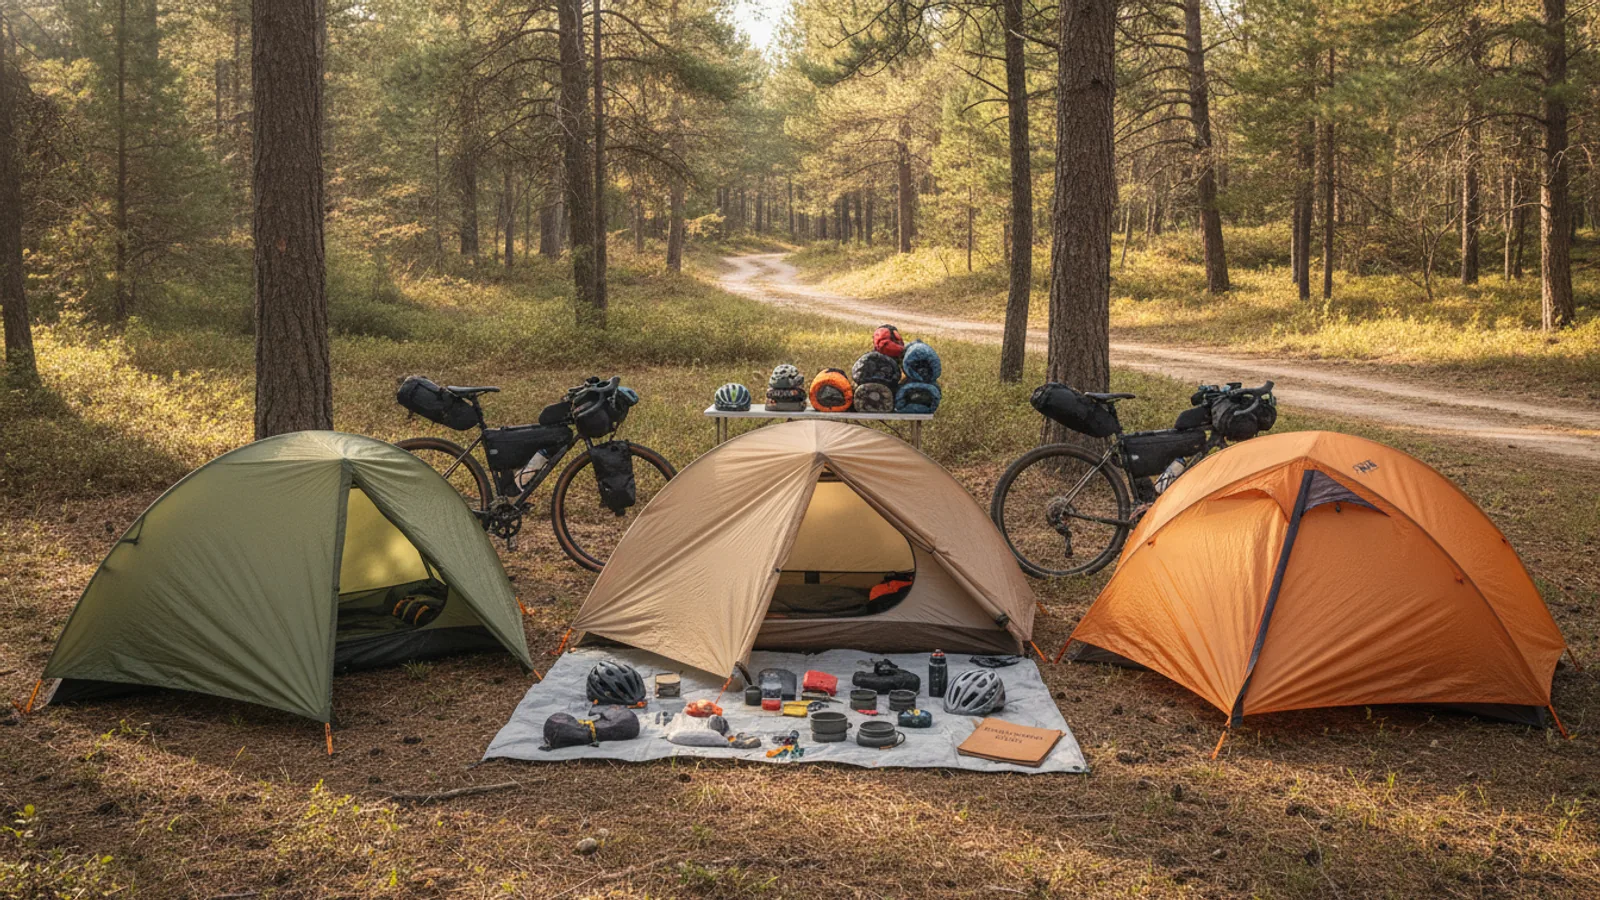
How To Choose A Bikepacking Tent
This guide explains how to approach how to choose a bikepacking tent, including the preparation, practical steps, common mistakes, and final checks that help you finish with confidence.
Before You Start
Step-by-Step Instructions
Quick Reference
Common Problems When You Choose A Bikepacking Tent
Fix: This is the most common mistake. Before buying, always measure the internal dimensions of your bikepacking bags (handlebar roll, saddlebag, frame bag) and compare them to the packed dimensions of the tent. Pay special attention to the pole length. If it's too long, you might need to split components across different bags or reconsider a tent with shorter pole segments. Sometimes, a different type of shelter like a tarp and bivvy, or just a bivvy, might be more suitable for your setup.
Fix: Condensation is a common issue, especially in GB's damp climate. It's often caused by insufficient ventilation. When pitching, always ensure all vents are open and try to position the tent to catch any breeze. If possible, avoid pitching in hollows or dense vegetation where airflow is restricted. In extreme cases, a tent with more mesh in the inner tent or a better-designed flysheet with more space between it and the inner might be needed. Sometimes, leaving the vestibule zip slightly open can also help.
Fix: This indicates the tent's durability or weather protection isn't adequate for your chosen conditions. Ensure you have properly tensioned all guy lines and used every available pegging point. If the issue persists, the tent might not be suited for exposed or challenging weather. Next time, look for tents with higher denier fabrics, a higher hydrostatic head rating for the flysheet, and more robust pole structures (e.g., crossing poles rather than single hoops) that are designed for tougher conditions. Always carry a small repair kit for minor tears or pole damage.
Fix: Some tents, especially non-freestanding designs, have a steeper learning curve. Practise pitching your tent in your garden or a local park several times before your trip. Get familiar with the pole layout, pegging points, and tensioning system. If it's still consistently difficult, consider a semi-freestanding or freestanding tent for future purchases, as they generally offer a faster and less fiddly setup.
Advanced Tips for How To Choose A Bikepacking Tent
Once you've mastered the basics, here are some ways to refine your bikepacking shelter choice and usage:
- Consider Modular Shelter Systems: Instead of a traditional all-in-one tent, experienced bikepackers often use a modular approach. This might involve a lightweight tarp for shelter from rain, combined with a waterproof bivvy bag for sleeping and insect netting. This system is incredibly versatile, often lighter, and can be configured to suit different weather and conditions. You can choose to carry only the tarp, or only the bivvy, or both, depending on your trip forecast.
- Utilise Your Bike as a Tent Pole: Some ultralight shelter designs are specifically made to integrate with your bicycle, using a wheel or handlebars as a structural support. This saves the weight and bulk of dedicated tent poles. These options often require practice to set up securely and may limit how far you can move your bike once camped, but they offer extreme weight savings. Research these specific designs if you're chasing the absolute lightest setup.
- Master the "Fast Pitch" Method: For tents that allow it, learn to pitch the flysheet first, keeping the inner tent dry even when setting up in a downpour. This is invaluable in places like the GB where rain can start unexpectedly. Practise this technique thoroughly before you're caught out in bad weather.
- Weight Distribution Strategy: Even with a compact tent, think about how you split its components. Poles, inner, fly, and pegs can often be stored in separate bags to better balance the load on your bike. For example, poles might fit better in a frame bag, while the tent body and fly can go into a handlebar or saddlebag, creating a more stable ride.
- Beyond Traditional Tents: Explore alternatives like hammocks (if you're cycling in wooded areas), or highly compact hooped bivvy shelters that offer more space than a simple bivvy bag but less than a full tent. These specialised options cater to very specific needs and can be excellent for certain types of bikepacking.
How To Choose A Bikepacking Tent FAQ
What's the main difference between a bikepacking tent and a regular backpacking tent?
The primary difference lies in the packed size of the poles. Bikepacking tents are specifically designed with shorter pole segments so they can fit into the more constrained spaces of bikepacking bags (like handlebar rolls or saddlebags). Backpacking tents often have longer poles, making them difficult to pack on a bike. Bikepacking tents also tend to prioritise lower weight and compact packed volume even more strictly than some backpacking tents.
Can I use a bivvy bag instead of a tent for bikepacking?
Yes, many bikepackers use a bivvy bag, either on its own or paired with a lightweight tarp. A bivvy bag is essentially a waterproof cover for your sleeping bag, offering minimal weight and packed size. It's excellent for ultralight trips, mild weather, or when stealth camping. However, bivvies offer less space, no bug protection (unless it has a bug net), and no room to sit up or store gear out of the rain. They also offer less privacy than a tent. For multi-day trips in varied GB weather, a tent usually offers more comfort and versatility.
How important is waterproofing (hydrostatic head rating) for a bikepacking tent?
Waterproofing is extremely important, especially for bikepacking in GB where rain is a frequent companion. The hydrostatic head (HH) rating indicates how much water pressure a fabric can withstand before leaking. For the tent floor, aim for an HH of at least 5,000mm to prevent water ingress from wet ground. For the flysheet, an HH of 1,200mm to 3,000mm is generally considered waterproof, but for prolonged, heavy rain and peace of mind, closer to 2,000-3,000mm or higher is better. Don't compromise on waterproofing; a wet tent and gear can quickly ruin a trip.
What if my tent poles are slightly too long for my bags?
If the poles are only slightly too long, you might be able to find a separate, smaller stuff sack for the poles and attach it externally to your handlebar roll or fork cage, or slide it into a frame bag. However, consistently carrying poles externally exposes them to more risk of damage. If the length difference is significant, it's usually better to look for a tent with genuinely shorter pole segments designed for bikepacking. Trying to force a tent into bags it doesn't fit will only lead to frustration and potentially damaged gear.
Final Checklist for How To Choose A Bikepacking Tent
Before making your final decision, run through this checklist to ensure your chosen bikepacking tent meets all your needs:
- Capacity: Is it the right size for your solo or duo adventures, allowing for comfortable sleep and gear storage?
- Weight: Is the total packed weight acceptable for your bikepacking style and fitness level?
- Packed Size: Do the packed dimensions (especially pole length) physically fit into your existing bikepacking bags?
- Tent Style: Is the setup style (freestanding, semi-freestanding, non-freestanding) suitable for your skill level and preferred pitching environments?
- Durability: Are the fabrics (denier, HH rating), poles, and zips robust enough for the conditions you expect to encounter?
- Weather Protection: Is the hydrostatic head rating sufficient for expected rain and wet ground, common in GB?
- Ventilation: Does it have adequate ventilation to minimise condensation, especially in humid conditions?
- Features: Are there sufficient vestibules for gear, internal pockets for organisation, and easy entry/exit points?
- Seasonality: Is it a suitable 3-season tent for most GB bikepacking, or a 4-season if you plan winter trips?
- Ease of Pitch: Have you practised pitching it, and can you do it quickly and efficiently, even when tired or in bad weather?
- Repairability: Are replacement parts available, and can basic repairs be made in the field?
- Reviews: Have you consulted real-world user reviews and opinions from other bikepackers?