How To Pack A Bikepacking Bag
A practical step-by-step guide to how to pack a bikepacking bag, including preparation, instructions, common issues, tips, and next steps.
How To Pack A Bikepacking Bag
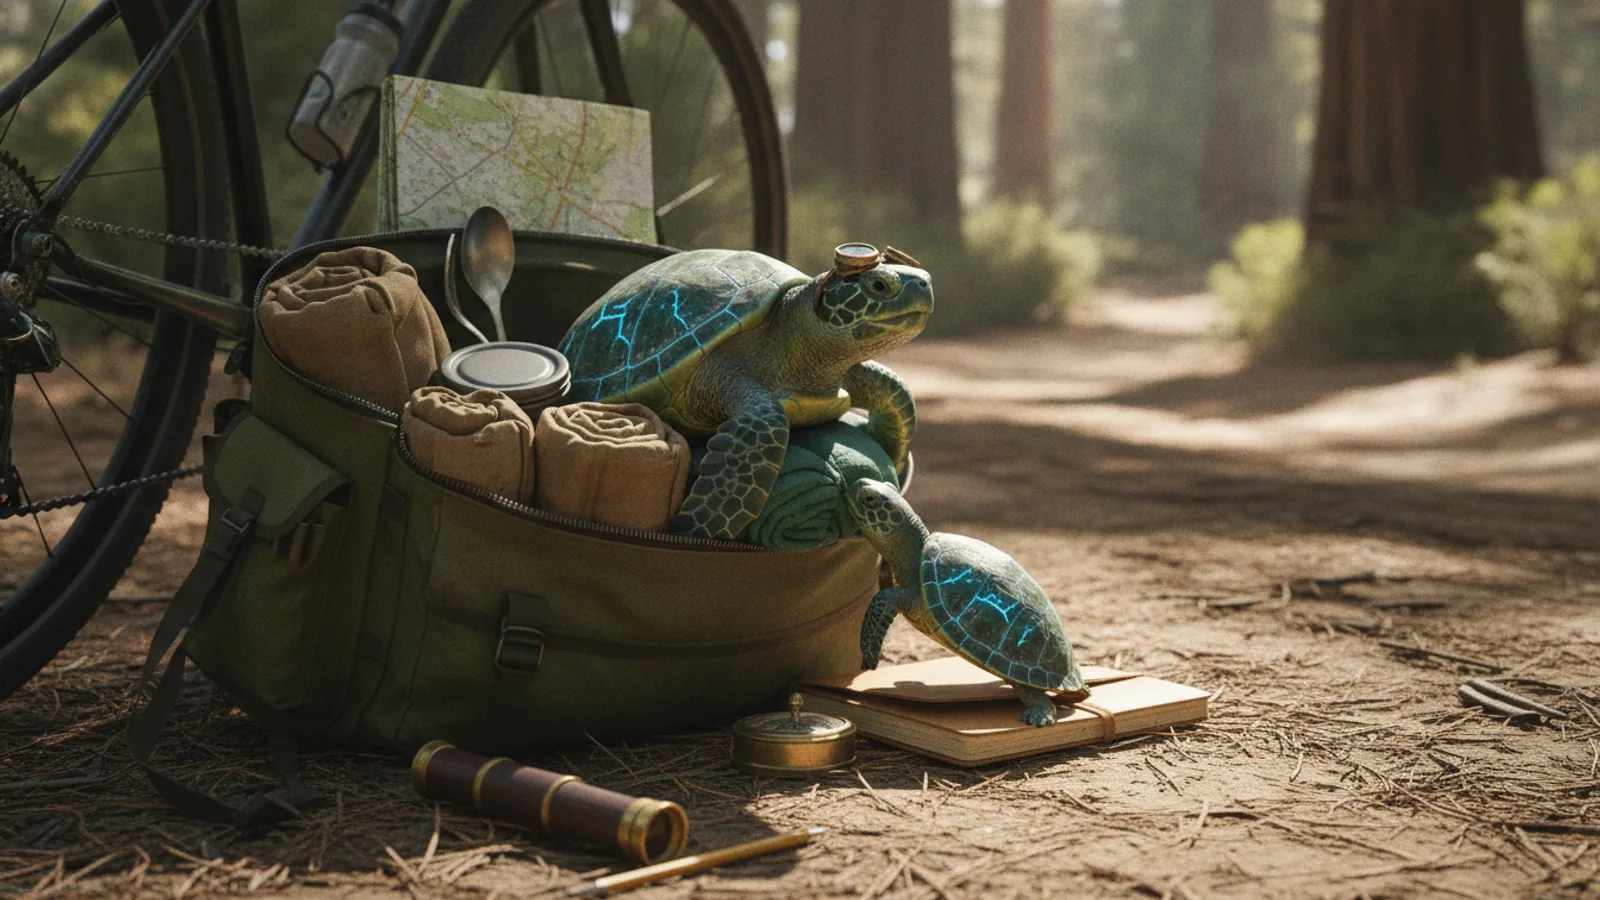
This guide explains how to approach how to pack a bikepacking bag, including the preparation, practical steps, common mistakes, and final checks that help you finish with confidence.
Before You Start
Step-by-Step Instructions
Quick Reference
Common Problems When You Pack a Bikepacking Bag
Even with careful planning, you might encounter a few common issues when packing your bikepacking bags. Knowing how to spot and fix these problems can save you a lot of frustration on the trail.
Bag Wobble or Sway
This is perhaps the most common complaint, especially with seat packs and handlebar rolls. If your bag feels like it's swinging from side to side, particularly when climbing out of the saddle or descending rough terrain, it means it's not packed densely enough or not secured tightly enough. A wobbling bag wastes your energy and can throw off your balance.
Fix: Firstly, ensure your bag is packed as densely as possible. Push items in firmly to eliminate air pockets. For seat packs, push the contents as far forward towards the seat post as you can. Secondly, check all straps and buckles. Pull them as tight as they can go without damaging the bag or your bike frame. Some bags benefit from an additional strap or daisy chain attachment if they have loops for it. A very lightweight, bulky sleeping bag might need an extra compression strap around the outside of the handlebar roll to hold it in a tighter bundle.
Bike Imbalance or Unstable Handling
If your bike feels difficult to steer, heavy on one side, or prone to tipping, it's likely a weight distribution issue. Too much weight high up, or too much weight concentrated at the very front or rear, can make the bike feel sluggish and unresponsive.
Fix: Re-evaluate where your heaviest items are. Remember the rule: heavy items low and central in the frame bag. Distribute lighter, bulkier items to the handlebar roll and seat pack. If you have fork bags, try to ensure they carry roughly equal weight on each side. A test ride (even a short one around the block) after making adjustments is essential to feel the difference.
Gear Rattling or Damage
Hearing a constant rattle or discovering a broken item can really detract from your ride. Rattling usually indicates loose items within a bag or items that aren't properly secured.
Fix: Use dry bags or stuff sacks for all internal organisation. This not only protects against water but also keeps smaller items from jostling around. Wrap fragile items (like a camera lens or a small stove) in clothing or a thick sock for padding. Pack bags full and tight to prevent internal movement. If an item is particularly rigid or pointy, ensure it's not pressing against the bag fabric in a way that could cause wear or damage.
Difficulty Accessing Needed Items
Finding yourself constantly stopping to dig through a bag for a snack, your phone, or a waterproof layer indicates a problem with accessibility planning. This wastes time and can be frustrating.
Fix: Dedicate top tube bags, feed bags, and external pockets on your frame bag to items you need frequently while riding (snacks, phone, navigation, small tools, sunglasses). Items needed at brief stops (map, wallet, small first aid kit) should be in an easily accessible part of the frame bag. Items only needed at camp (sleep system, cooking gear, spare clothes) can be buried deeper in the handlebar roll or seat pack.
Not Enough Space for All Your Gear
Sometimes, despite all efforts, it feels like your gear just won't fit. This often points to either bringing too much gear or not optimising packing techniques.
Fix: Perform a ruthless gear audit. Do you truly need every item? Can any item serve multiple purposes? Can you bring a smaller or lighter version of something? (e.g., a lightweight emergency tarp instead of a full tent fly). Secondly, focus on compression. Roll clothes tightly, use compression dry bags for sleeping bags and compressible clothing. Eliminate all air pockets when packing. If necessary, consider adding a small accessory bag, but only after optimising your existing setup.
Advanced Tips for How To Pack A Bikepacking Bag
Once you've mastered the basics of how to pack a bikepacking bag, you can refine your technique with these advanced strategies to enhance comfort, efficiency, and preparedness on your longer adventures.
Modular Packing with Colour-Coded Dry Bags
Instead of just stuffing items into bags, use a system of different coloured dry bags or stuff sacks for specific categories of gear. For example, a red dry bag for your cooking kit, a blue one for clean clothes, a green one for dirty clothes, and a yellow one for your sleep system.
Benefit: This makes it incredibly easy to find what you need quickly, even in the dark or when you're tired. You can pull out just the "sleep system" bag without disturbing other gear, or grab the "cooking" bag directly when you're ready for a meal. It also helps with waterproofing and compression within your main bags.
Optimising Compression Straps and External Lashing
Many bikepacking bags come with external compression straps or daisy chains. Don't just tighten them; use them strategically. For handlebar rolls, some riders use additional straps to attach small, lightweight items like a packable waterproof jacket or even a small tent fly to the outside, making them instantly accessible without opening the main roll.
Benefit: This frees up internal space and keeps frequently needed items on hand. Just ensure anything lashed externally is waterproofed and securely fastened so it doesn't bounce off or get lost on rough trails.
The "Heavy vs. Light" Rule for Technical Terrain
When riding technical trails, the distribution of weight becomes even more critical. A common advanced strategy is to keep the front wheel relatively light. While the handlebar roll takes bulky items, ensure these are truly lightweight. Keep heavy items (water, tools) in the frame bag, centred. This allows the front wheel to "float" over obstacles more easily and improves steering responsiveness.
Benefit: Better bike handling and control on challenging singletrack or rocky descents, reducing fatigue and increasing safety.
Test Rides with Variable Loads
Beyond the initial test ride, consider doing a few shorter rides with your fully loaded bike, varying the terrain and conditions. Try steep climbs, fast descents, and some rough sections.
Benefit: This helps you identify subtle imbalances or discomforts that might not show up on a casual spin. It allows you to fine-tune your packing, making minor adjustments to strap tension or item placement, leading to a perfectly dialled setup for your actual trip.
Packing for Specific Conditions (Wet Weather and Cold)
Adapt your packing strategy for anticipated conditions. For wet weather, double down on waterproofing. Use dry bags for *everything* that must stay dry, not just the essentials. Consider lining your main bags with a larger bin liner as an emergency backup. For cold weather, focus on insulating layers. Compress extra clothing items as much as possible, perhaps using vacuum seal bags if space is extremely limited (though be wary of potential punctures).
Benefit: Ensures you're prepared for the elements, keeping you warm, dry, and safe regardless of what the weather throws at you.
How To Pack A Bikepacking Bag FAQ
Should I use dry bags inside my bikepacking bags?
Yes, absolutely. While many bikepacking bags are made from water-resistant materials, a fully waterproof dry bag inside is your best defence against rain, splashes, and condensation. They also help compress items and keep them organised, making it easier to find what you need and preventing items from rattling around.
How do I stop my seat pack from wobbling?
Seat pack wobble is a common issue. To minimise it, ensure the bag is packed densely and tightly, with contents pushed forward towards the seatpost. Make sure all straps (to the saddle rails and seatpost) are pulled as tight as possible. Some bags have an internal stiffener, which helps. Avoid putting very heavy or rigid items in the seat pack, as this can increase sway.
Where should I put my tent?
The best place for your tent depends on its size and pole length. If it's a very compact, lightweight tent, the tent body or inner might go in the seat pack (compressed in a dry bag), while the poles are lashed separately to the frame bag or fork bags. Larger or heavier tents often fit best in the handlebar roll, especially if you can separate the poles and distribute their weight.
What about water? Where's the best place for it?
Water is heavy, so it's best kept low and central in your frame bag. Many frame bags are designed to hold a hydration bladder. Alternatively, use standard water bottle cages on your frame, or even mount extra cages to your fork using special clamps. Keeping water weight central helps maintain bike stability.
How do I pack food for a multi-day trip?
Pack dense, calorie-rich food items that won't spoil easily. Snacks and food needed for the current day should go in your top tube bag or feed bags for easy access. Bulkier, heavier food supplies for later in the trip, or cooking ingredients, can go in your frame bag. Dry food items can also be distributed among other less-critical areas if space allows. Always seal food well to prevent leaks and attractants for wildlife.
Should I carry my bike repair kit in a specific place?
Your essential bike repair kit (multi-tool, spare tube, tyre levers, pump, patch kit) should be in an easily accessible, yet secure, location. The frame bag is ideal for heavier items like tools and spare tubes, keeping the weight low. Your pump might attach to your frame or a fork bag. Ensure you can get to these items quickly if you have a mechanical issue on the trail.
Final Checklist for How To Pack A Bikepacking Bag
Before you roll out for your adventure, run through this final checklist to ensure your bikepacking bag is packed perfectly for a safe and enjoyable journey.
By following these steps and paying attention to these details, you'll be well on your way to packing your bikepacking bag like a seasoned pro. A well-packed bike means less hassle, more comfort, and more focus on the beautiful routes ahead. Happy travels!